DIY Irrigation: How to Install an Automatic Lawn Sprinkler System
Do you want to keep your lawn green and healthy, but don’t have the time or expertise to maintain it?
Installing an automatic lawn sprinkler system is an incredible investment that will save you time while ensuring that your landscaping stays in optimal condition.
Here are the steps to take if you want to install your own automatic sprinkler system:
Design a Layout
Before you begin the installation, you’ll need to map out where all of the components of the irrigation system will go.
This includes determining where the pipes will run and what type of sprinklers will be installed in each area.
It’s important that you plan everything out before beginning installation because mistakes can be costly and time-consuming to repair.

Gather Supplies and Tools
Once you have a layout planned out, you’ll need to gather all of the necessary supplies and tools for installation.
This includes items such as PVC pipes and fittings, various types of connectors, water valves, backflow preventers, and any other necessary parts for installation.
Dig Trenches for Pipes
The next step is to dig trenches for the pipes that will carry water from its point of origin (likely a well or spigot) around your property so they can reach every component of your new irrigation system.
This process can be laborious but it is essential to ensure proper installation.
Install Sprinkler Heads
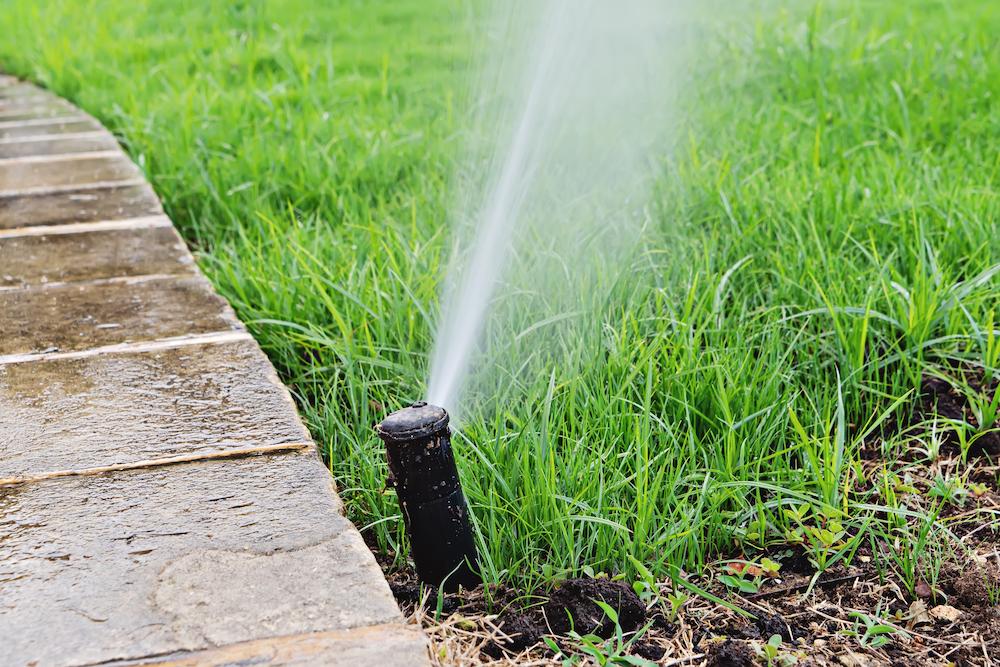
After laying down the pipes in their designated trenches, it’s time to install the actual sprinkler heads in each area according to your design plans.
You may need some assistance attaching each head correctly depending on what type was purchased so make sure you read any user guides or do research on how best to get them properly attached before beginning this stage of installation work.
Set Up Controller & Timers
At this point, you should have all of your piping connected together as well as all your individual sprinklers installed on their respective lines throughout your yard or garden space—now it’s time to set up irrigation controller systems that control when irrigations occur based on timers you have preset or programmed into them ahead of time.
One unit should be hooked up near where most sources enter (near the water faucet) with wires running between them evenly throughout the property wherever needed.
Once those are installed they should then be linked up with timers, controllers, etc, as outlined by either manufacturer instructions/suggestions or tutorials online.
Test Your Sprinkler System
Once the controller is set up and all of the connections are secured, it’s time to test your sprinkler system. Make sure that each zone is functioning properly and that there are no leaks in the pipes.
If everything looks good, then you’re ready to enjoy a beautiful and healthy lawn.
As you can see, setting up an automatic lawn sprinkler system isn’t as difficult as it may seem. With the right supplies and tools, you can have a beautiful and healthy lawn in no time.
Don’t forget to consult with local irrigation professionals if you need help getting your system installed correctly.